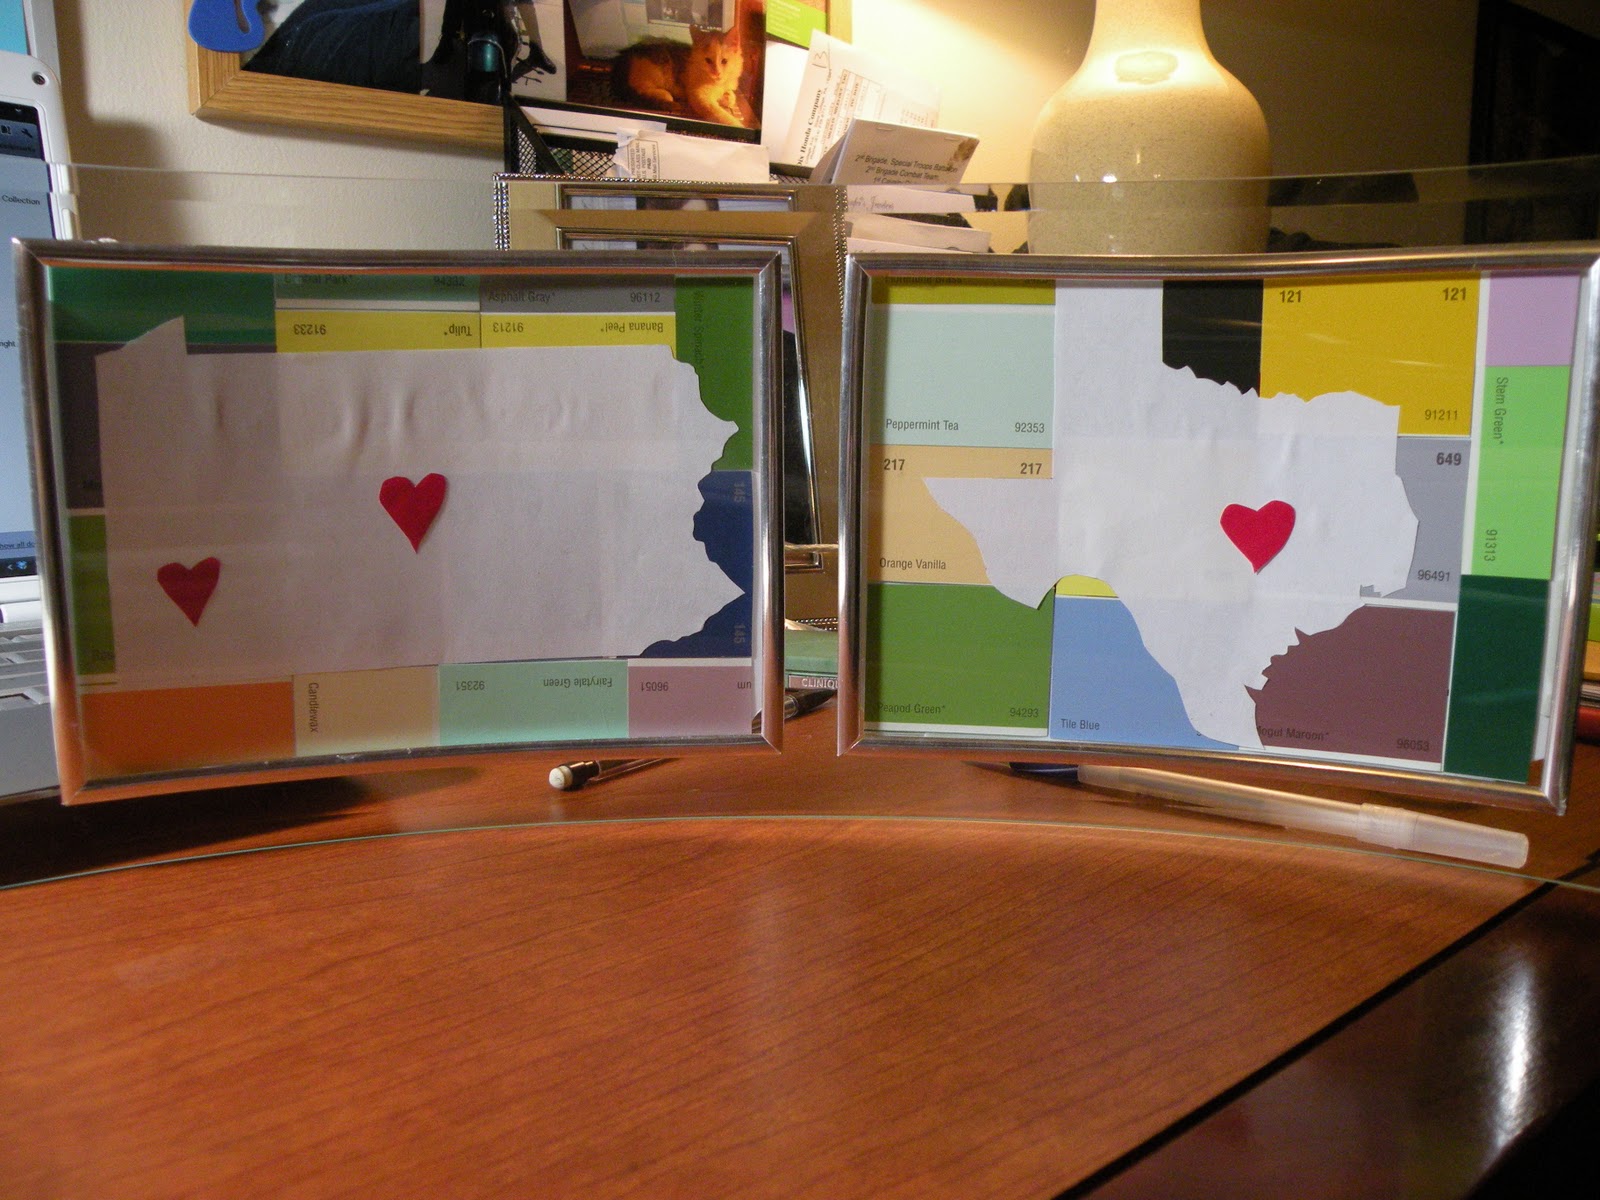
Corny title, I know, but that's what I made this afternoon, finally, look!
Of course I had to put my own spin on it. Here's how I made mine:
1. I am a huge fan of using paint samples for just about anything. They are great because they are free, the perfect size for bookmarks that you can scribble notes on, and come in so many fun colors. I've made a couple projects with paint samples before (a mother's day gift many years ago, and a heart I have on my bookshelf), so it seemed to make sense to use them to form the background for this project as well!
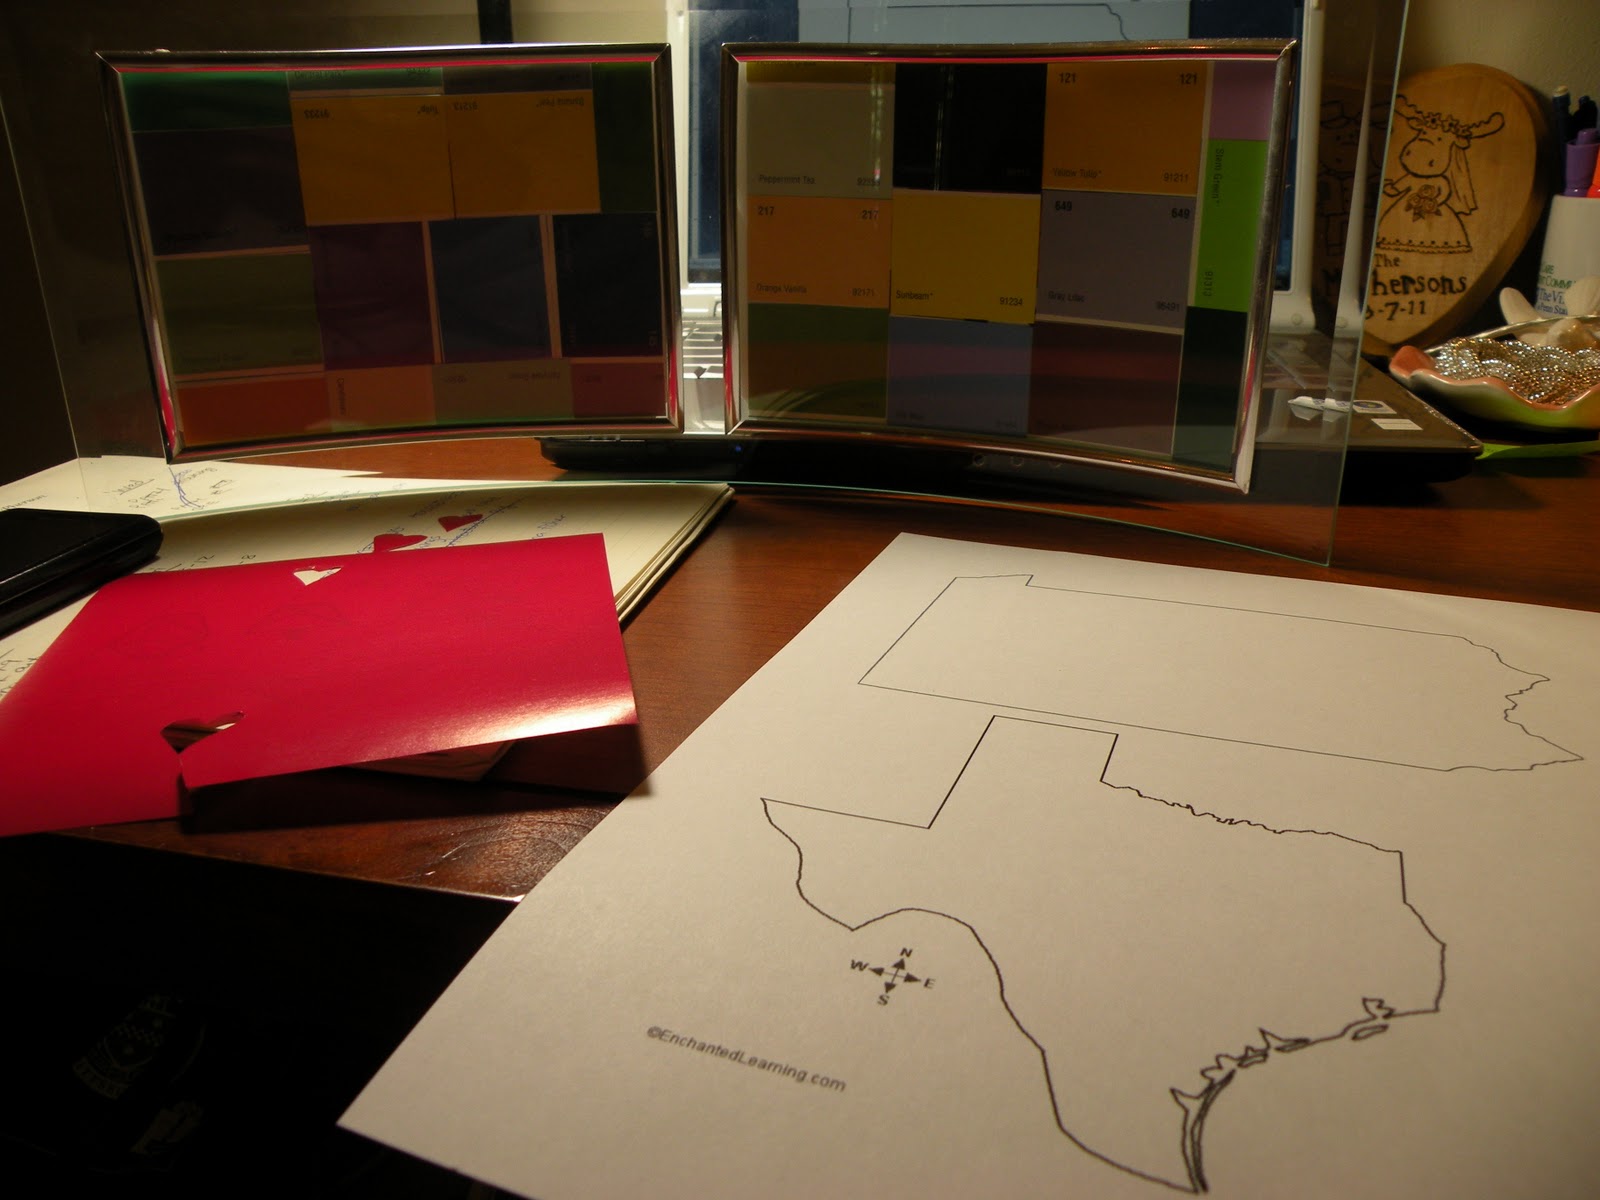
2. I started by cutting up the individual tiles of whatever samples I had left in my drawer. You could always use specific colors and shades if you wanted it to match with the rest of your decor or something.
3. I then arranged and taped them on 5x7 pieces of paper (the frames I had were 5x7). Cut around the edges, repeat, and I had my two backgrounds. (I had this nice two-picture curved frame lying around with no pictures, so that inspired the project, really.)
4. I found outlines of Texas and PA online, resized a bit to fit, and printed them out. I also have a big stack of origami paper, excellent for projects as it has all colors and patterns, so I used that to cut out red hearts (I didn't have any red paint samples due to said earlier heart project).
5. Cut out the states. This was probably the most challenging part because of all the little ins and outs, but it was pretty successful.
6. I taped the hearts down at their respective locations. State College- where we met, Pittsburgh- where we fell in love (I guess?), Killeen- where we got married. I decided to do it a bit differently from the original project, because I liked the idea of marking special places for us rather than the places we were born (though I will probably do a project with that sometime too).
7. Place each on a background...
8. Glue
9. I don't know about you, but I always sign and date things I make or write.
10. And voila! The finished project. I quite love it. :D
- From the desk of Mrs. M